Home »
How To (Professional App)
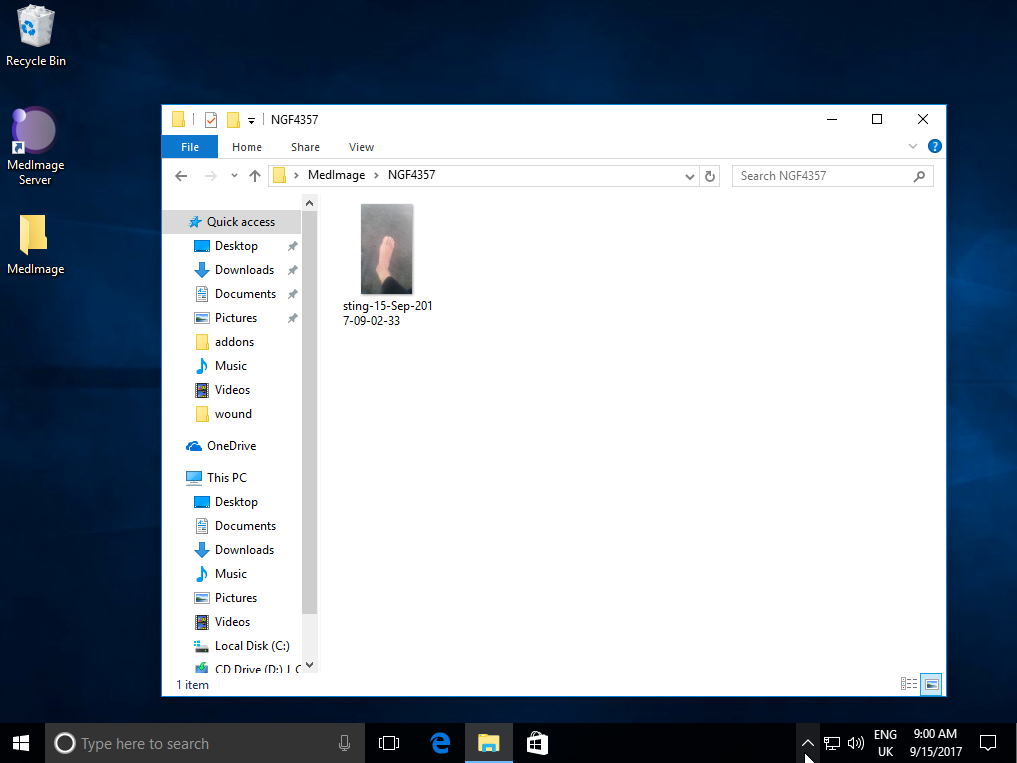
- On your PC, open up your MedImage folder, which is where you set it during installation (it defaults to your desktop, and will be created in a few seconds, if it isn’t there already. If this doesn’t appear, look in C:\MedImage\Photos)
- Go to the subfolder of your patient ID
- You will see the patient’s photo, already named
Create more advanced directories/filenames
You can prepend a ‘#’ to any secondary word in the ID field of your app, and it will create a sub-folder. Folders will be created if they don’t already exist, or added to, if they already exist, so nothing is ever removed.
Here are some examples of what to enter in the ID field:
folder
\folder\datetime.jpg
folder file
\folder\file-datetime.jpg
folder #subfolder file
\folder\subfolder\file-datetime.jpg
[blank]
\image\datetime.jpg
Using ‘ID writes a folder’ switched off
Under this mode images will be put into the main directory and named as you have entered them. You can still prepend a ‘#’ to any word in the ID field of your app, and it will create a folder. The folder will be created if it doesn’t exist, or added to it, if it already exists, so nothing is ever removed.

To enter this mode, in your app:
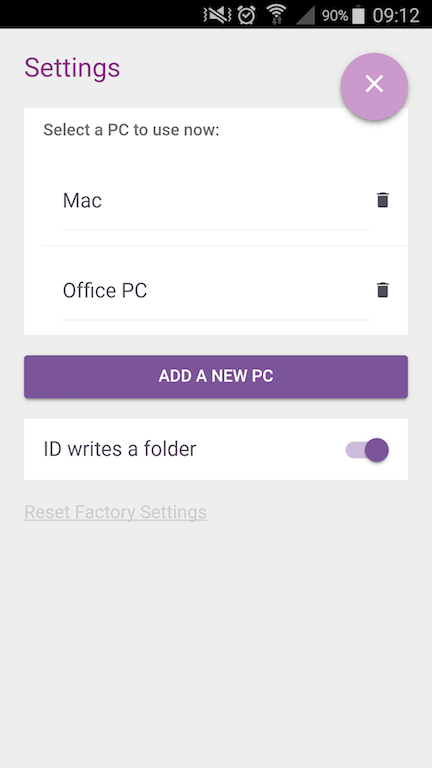
- Tap on the ‘Settings’ three bars in the bottom right hand corner.
- Switch off ‘ID writes a folder’, by dragging the button to the left.
- Close the options.
What to enter in the ID field when ‘ID writes a folder’ is off:
#folder
\folder\datetime.jpg
#folder file
\folder\file-datetime.jpg
#folder #subfolder file
\folder\subfolder\file-datetime.jpg
file fileagain
\file-fileagain-datetime.jpg
[blank]
\image-datetime.jpg
Install multiple MedImage servers on the same Wifi Network
Currently, this configuration is not fully supported with fast WiFi scanning/sending. The app will choose the first MedImage server that it finds, which could result in photos being sent to the wrong PC.
Instead, each phone should be paired with the corresponding PC manually, and you should select ‘no’ when asked ‘Do you want to connect via WiFi, if it is available, also?’ during the pairing. The phone will still potentially use a Wifi network to upload, but it will go via the internet before coming down to the PC.
Use MedImage across multiple locations, or PCs
- Tap on the ‘Settings’ three bars in the bottom right hand corner.
- Touch ‘Add a New PC’
- Enter a name for the PC
- Touch the large purple shutter button.
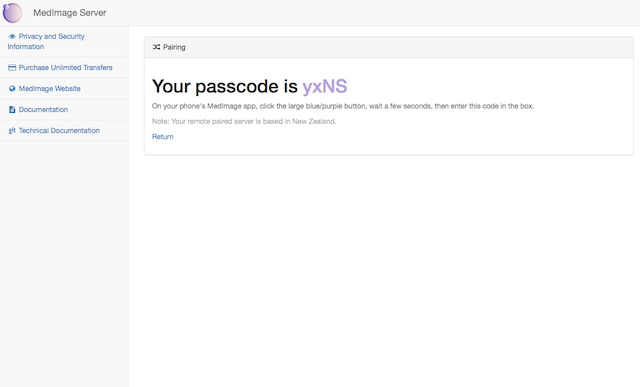
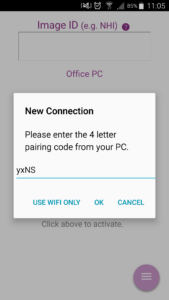
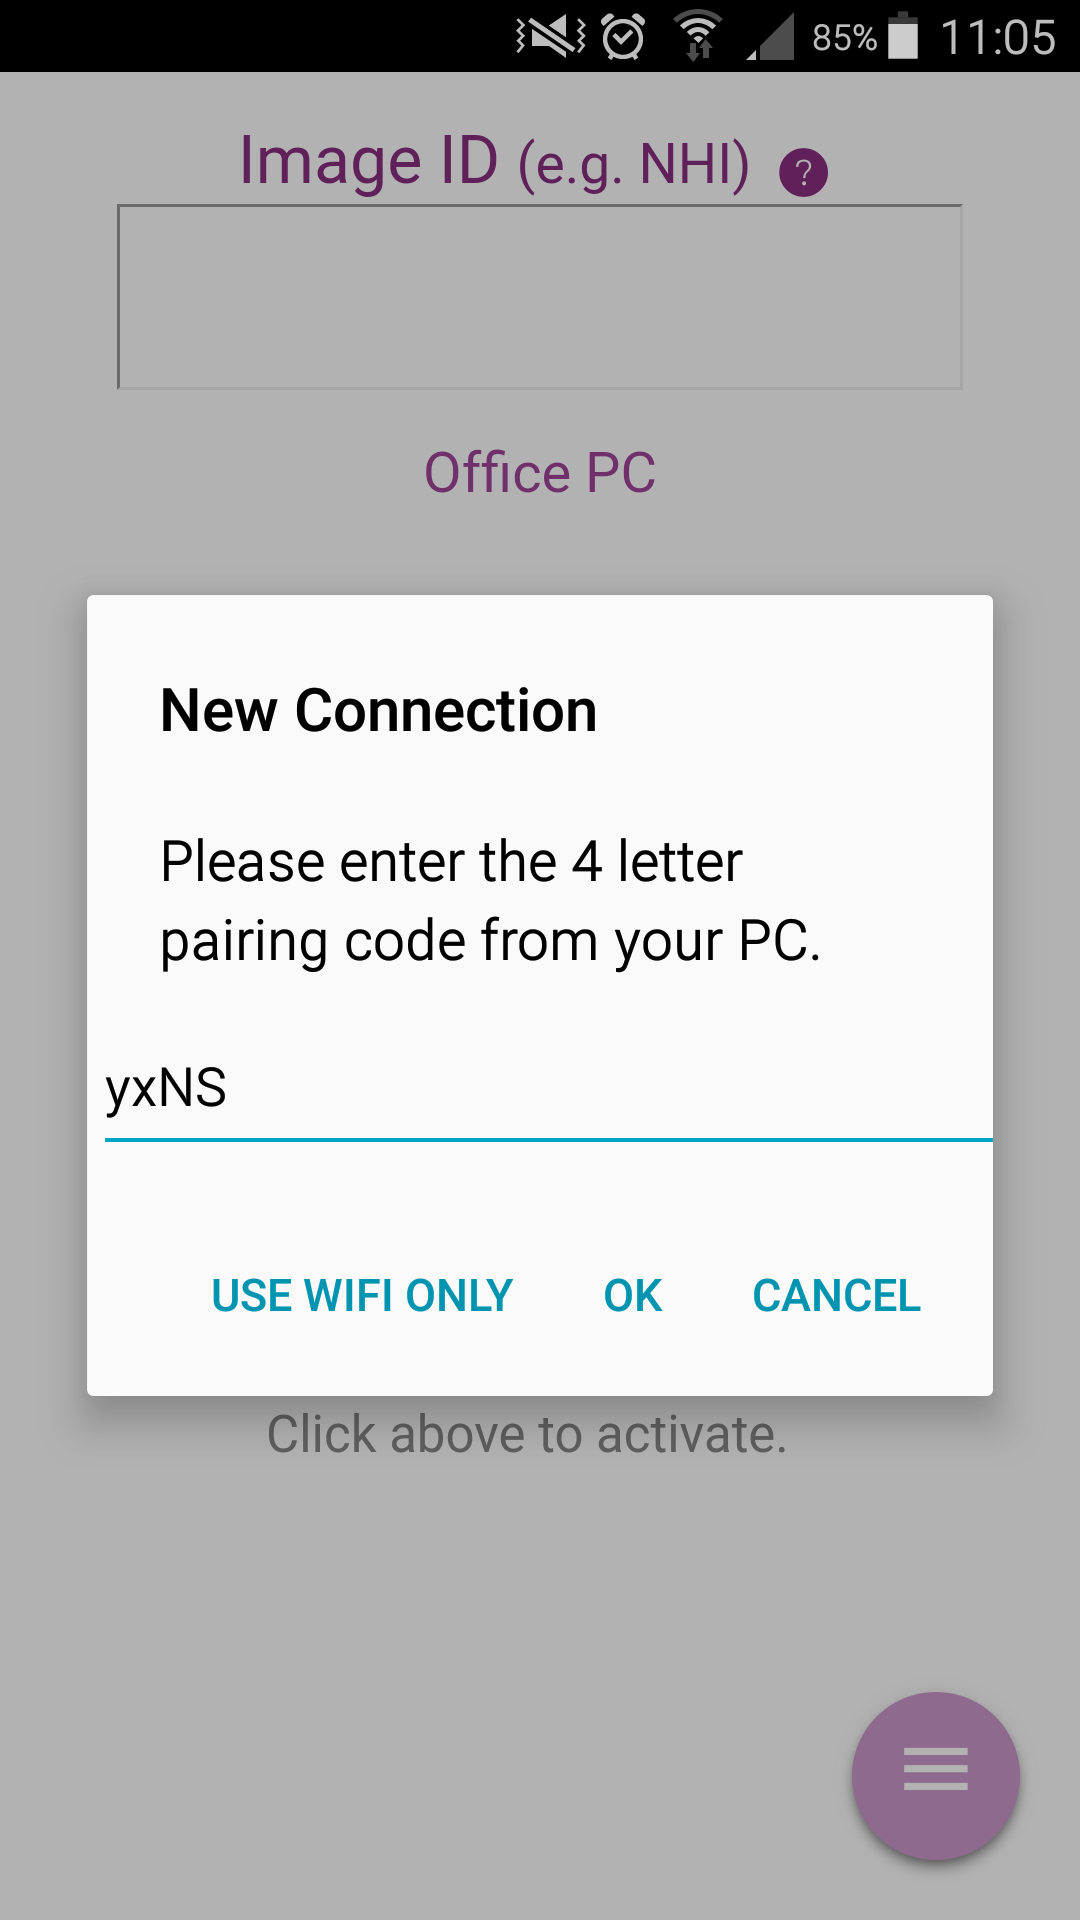
- Open the MedImage server in the new location and choose one of the pairing options. Enter this code in your phone.
- To switch between locations in future, click ‘Settings’ and then touch the PC you have added. You can delete obsolete PCs with the ‘trash can’ next to each of them.